
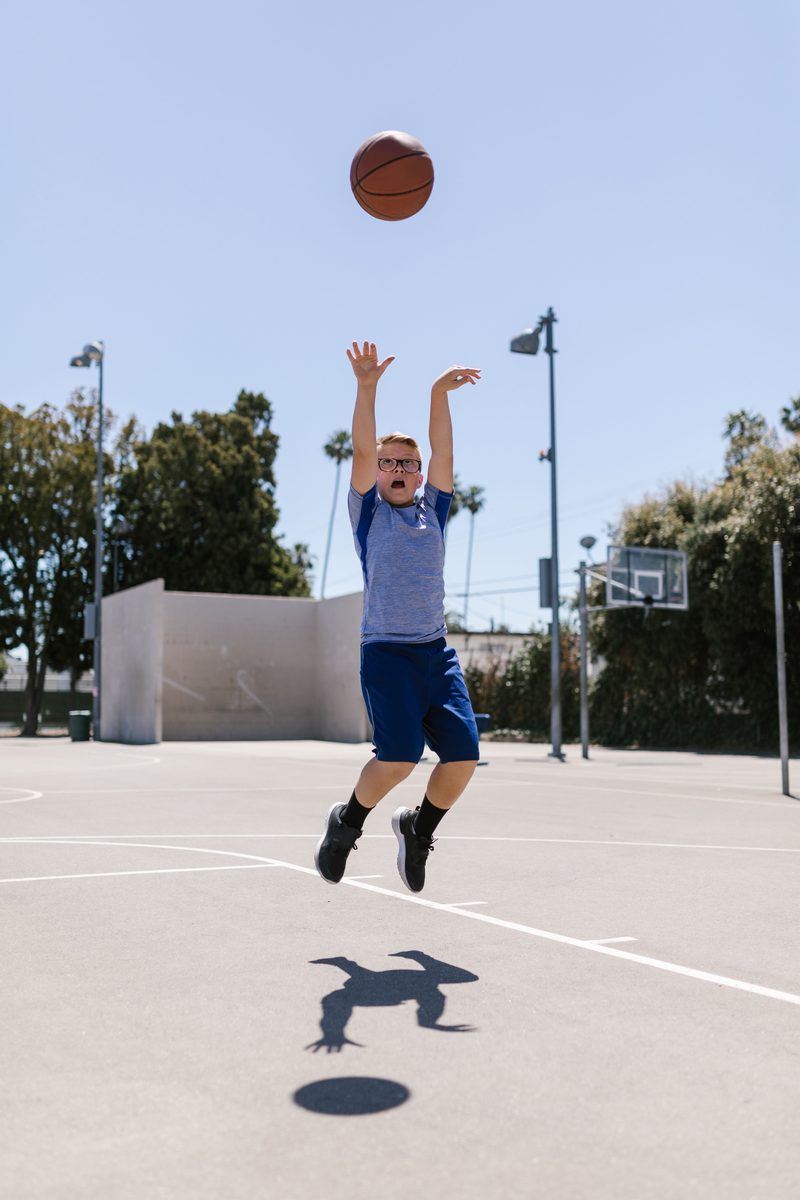
Every young guard knows the feeling: you beat your defender, drive into the paint — and a player a head taller is standing at the rim waiting. A layup gets blocked. A pull-up is too far. The shot built for exactly this moment is the floater: a soft, high-arcing shot released early, over the big defender's reach, that drops in before help can react. If you are not the biggest player on the court, the floater is not optional. It is survival.
What a Floater Is (and Is Not)
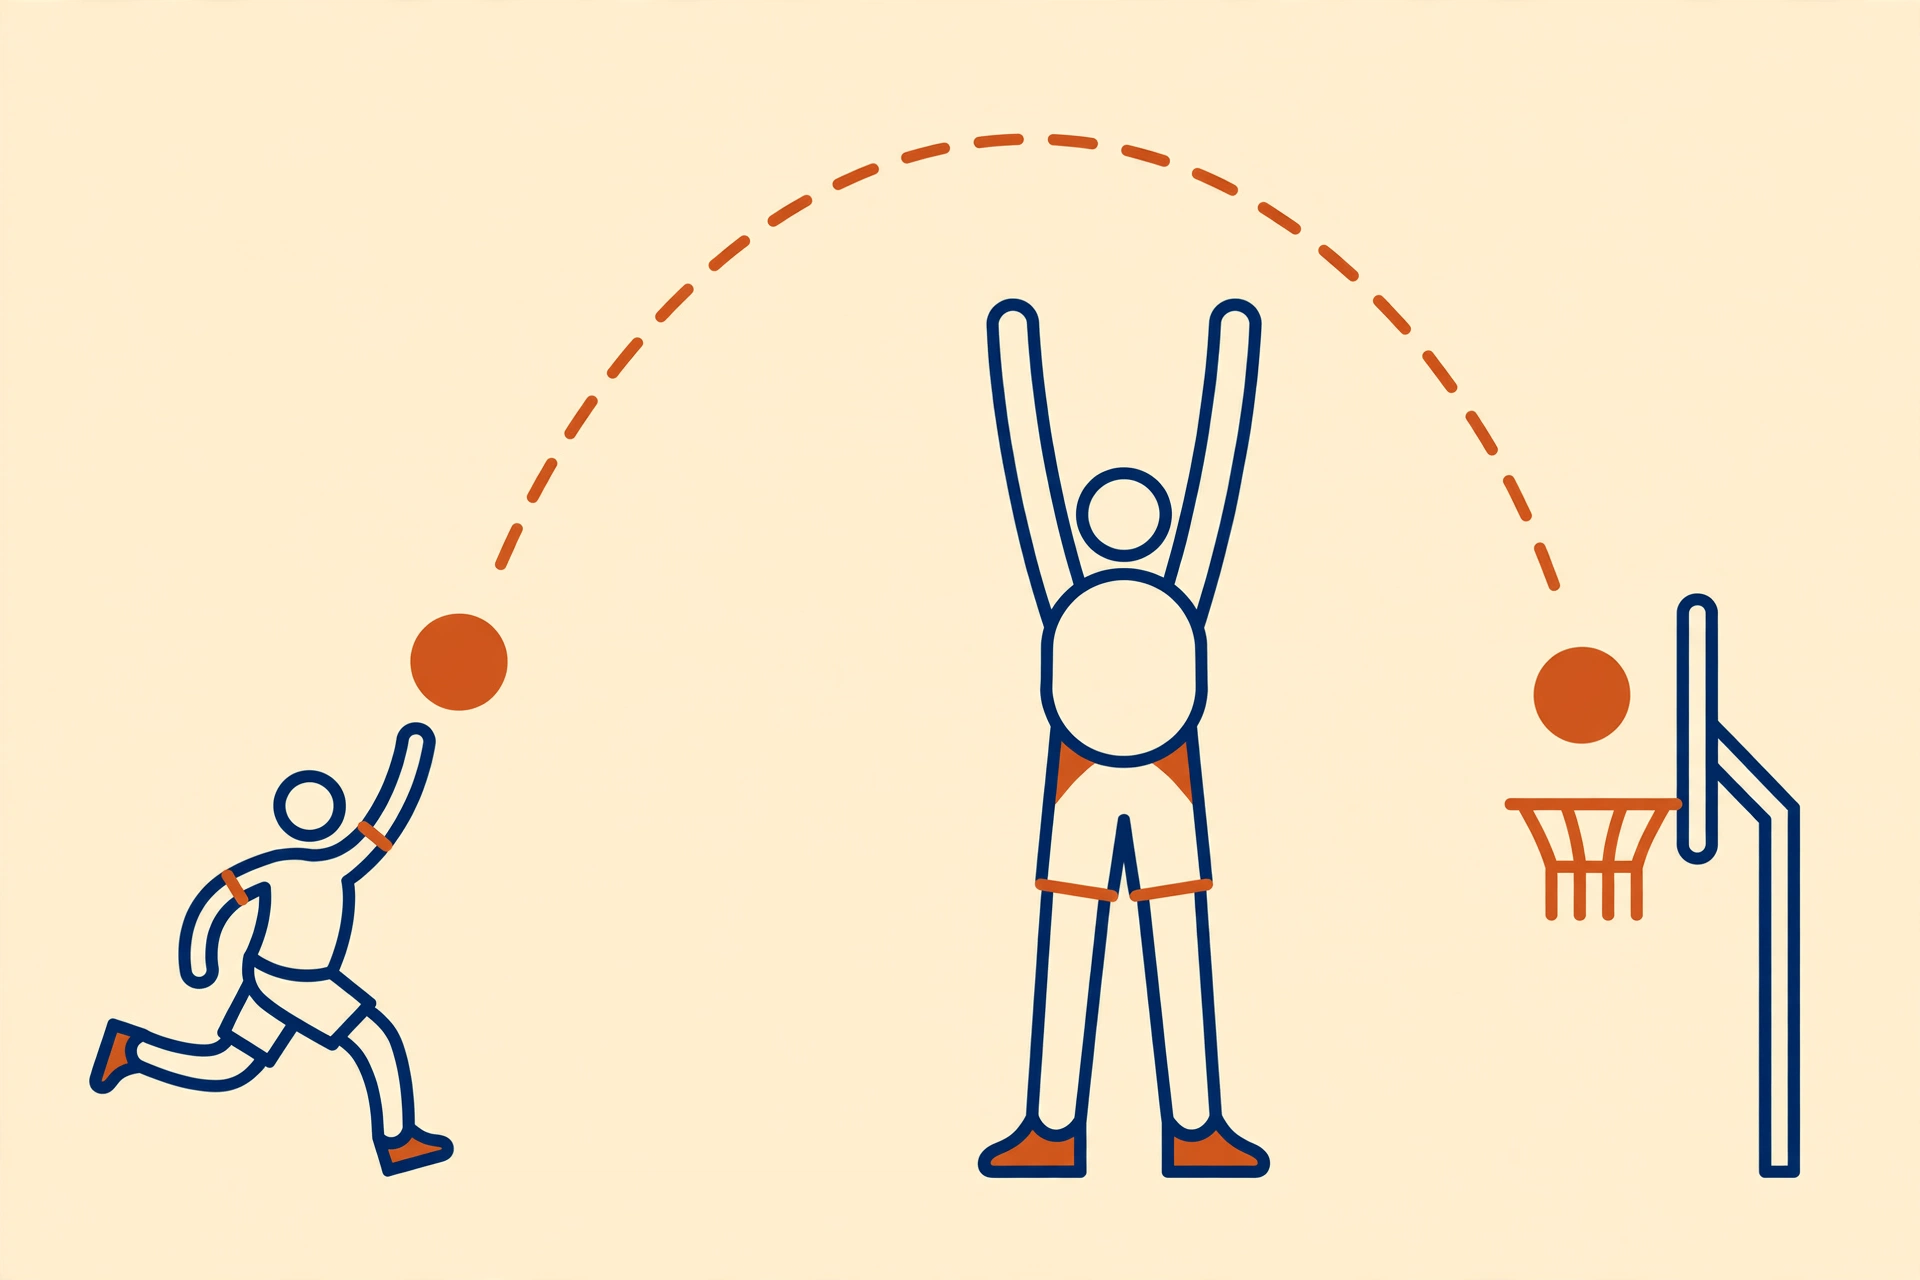
A floater is a one-handed shot taken on the move, usually from 4 to 10 feet, released before you reach the defender and arced high enough to clear their hand. It is not a runner thrown at the rim and it is not a layup with less effort. The floater is a touch shot — the same soft hand you use on a free throw, applied at speed. Think of it as tossing the ball up through an imaginary window above the defender's fingertips and letting it fall through the hoop.
Two Ways to Shoot It
The One-Foot Floater
Like a layup takeoff: drive, pick the ball up, launch off one foot, and release at the top of your stride with your shooting hand. The ball should be released early — well before the defender — with a high arc and backspin. This version keeps your momentum and is best in transition and on straight-line drives.
The Two-Foot Floater
Come to a jump stop in the paint, then float the ball up off two feet. Slower, but more controlled — and it keeps your options open: from the jump stop you can shoot the floater, shot-fake and step through, or pass out. We teach the two-foot version first at Craft Masters because it builds balance and decision-making into the move.
The Keys to Touch
- High arc, soft hand. The ball should peak well above the rim and drop, not drive, through it.
- Release early. If the defender can reach your release point, you waited too long. The floater leaves your hand a full step sooner than a layup.
- Same hand, every time — then both. Master your strong hand, then build the weak hand. A floater with either hand doubles the angles you can score from.
- Eyes on the target. Look at the back of the rim or a spot just over it — never at the defender.
- Release on the way up. The ball leaves your hand early — around forehead height, while you are still rising. A floater released on the way down is the most common youth mistake there is; it shoots flat and short.
- Land on two feet, on balance. Ready to chase your own miss or get back on defense. A floater shot falling backward usually misses short.
Floater Mistakes That Kill the Shot
- Shooting it flat. A line-drive floater hits the front rim or flies over. Arc is the whole point.
- Drifting sideways. Floaters shot while falling away lose touch. Go up strong and straight, even on one foot.
- Using it from too far. A floater from the free-throw line is a low-percentage prayer. It is a paint shot — get to your spot.
- Forcing it into traffic. Two defenders collapsing means a teammate is open. The floater beats one big, not a crowd — sometimes the right play is the pass or the Euro step around them.
Drills to Build Floater Touch
1. Stationary Touch Shots
Stand 5 feet out. One hand, no jump — just arc and touch, 20 in a row. Feel the ball roll off your fingertips with backspin.
2. Mikan Floaters
Alternate right- and left-hand floaters from each block, continuous for 2 minutes. Both hands, high arc, soft finish off the glass or swish.
3. Drive-and-Float Series
From the top of the key: one hard dribble, jump stop, floater. Then one-foot version off each foot. Then add a coach or parent with a hand up at the rim. Chart makes out of 25 — we track everything at Craft Masters.
The Floater Completes the Package
Think about a guard's scoring layers: the jumper makes defenders close out, the crossover beats the closeout, and the floater scores over the help. Remove any layer and the defense can guard the rest. The floater is the layer most young players skip — which is exactly why it works. Build it now, and the paint belongs to you no matter how tall they are. Book a session with Coach Elliott in New Rochelle and let's add it to your game.