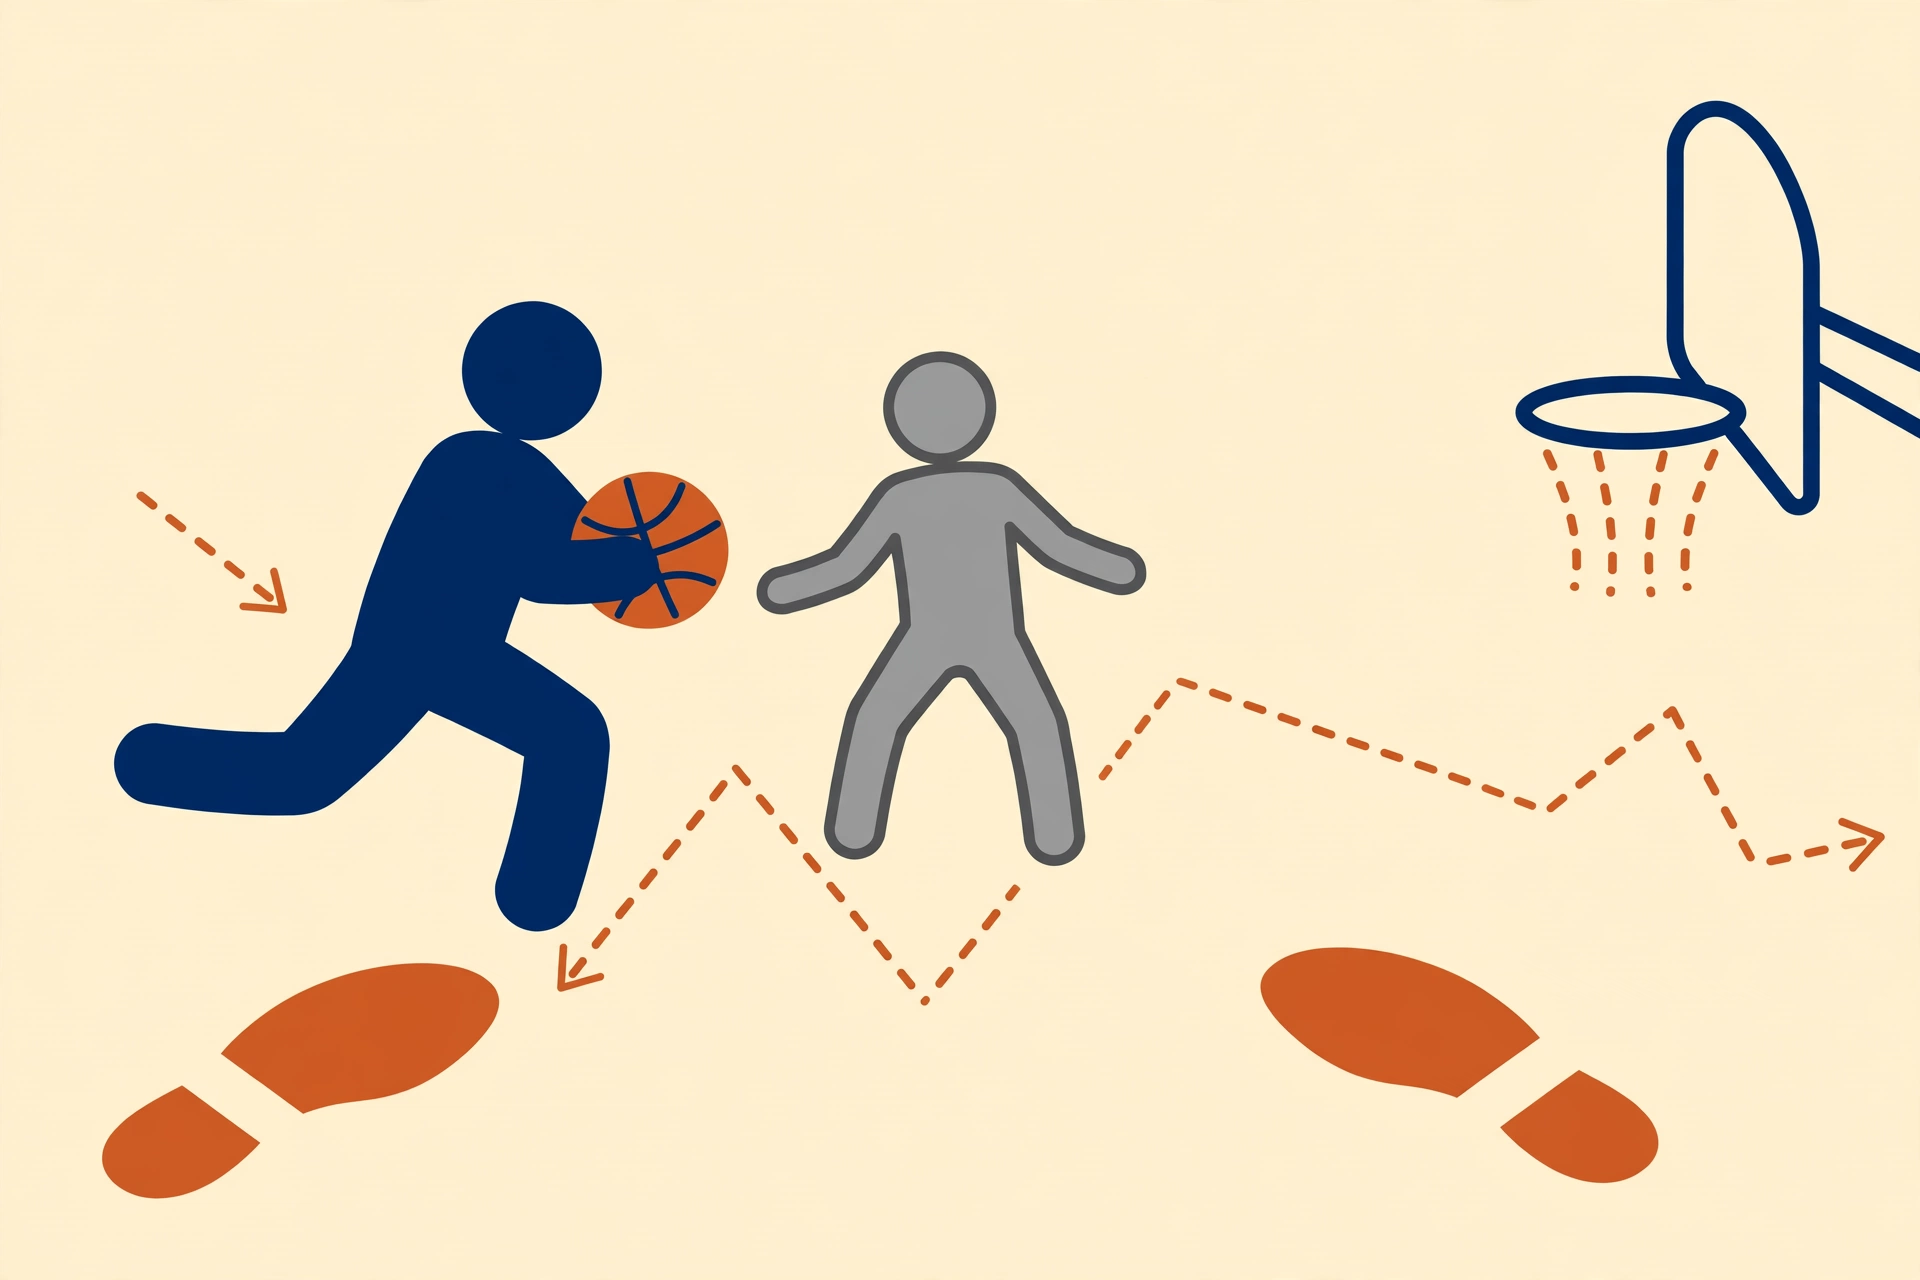
Watch any high-level game today and you will see it constantly: a player drives into the paint, a big defender steps up — and instead of crashing into them, the driver steps one way, then the other, and lays the ball in untouched. That is the Euro step, the most important finishing move in modern basketball. Here is how it works, how to teach your feet to do it, and when to pull it out of the bag.
How the Euro Step Works
The Euro step happens after you pick up (gather) the ball on a drive. From the gather, you get two steps. A normal layup takes those two steps in a straight line. The Euro step takes them in two different directions:
- Step one: sell the fake. As you gather the ball, plant your first step hard in one direction — say, to the defender's left — with your head and shoulders leaning that way. You are showing the defender exactly where you "plan" to go.
- Step two: step away. Push off that first step and take your second step in the opposite direction, stepping around the defender into the open space.
- Finish. Extend and lay the ball in off the glass, keeping your body between the defender and the ball.
The whole move takes about half a second. The defender commits to step one; step two is already gone.
Is the Euro Step a Travel?
No — when it is done right. The key is the gather: your two steps start after the ball is secured in both hands (or one hand under control). Players get called for travels when they pick the ball up too early and take an extra step before the two Euro steps, or when the pivot foot drags on a slow, walking version. In training we teach it at walking speed first, counting out loud: "gather — one — two — finish." Clean footwork at slow speed becomes legal footwork at game speed.
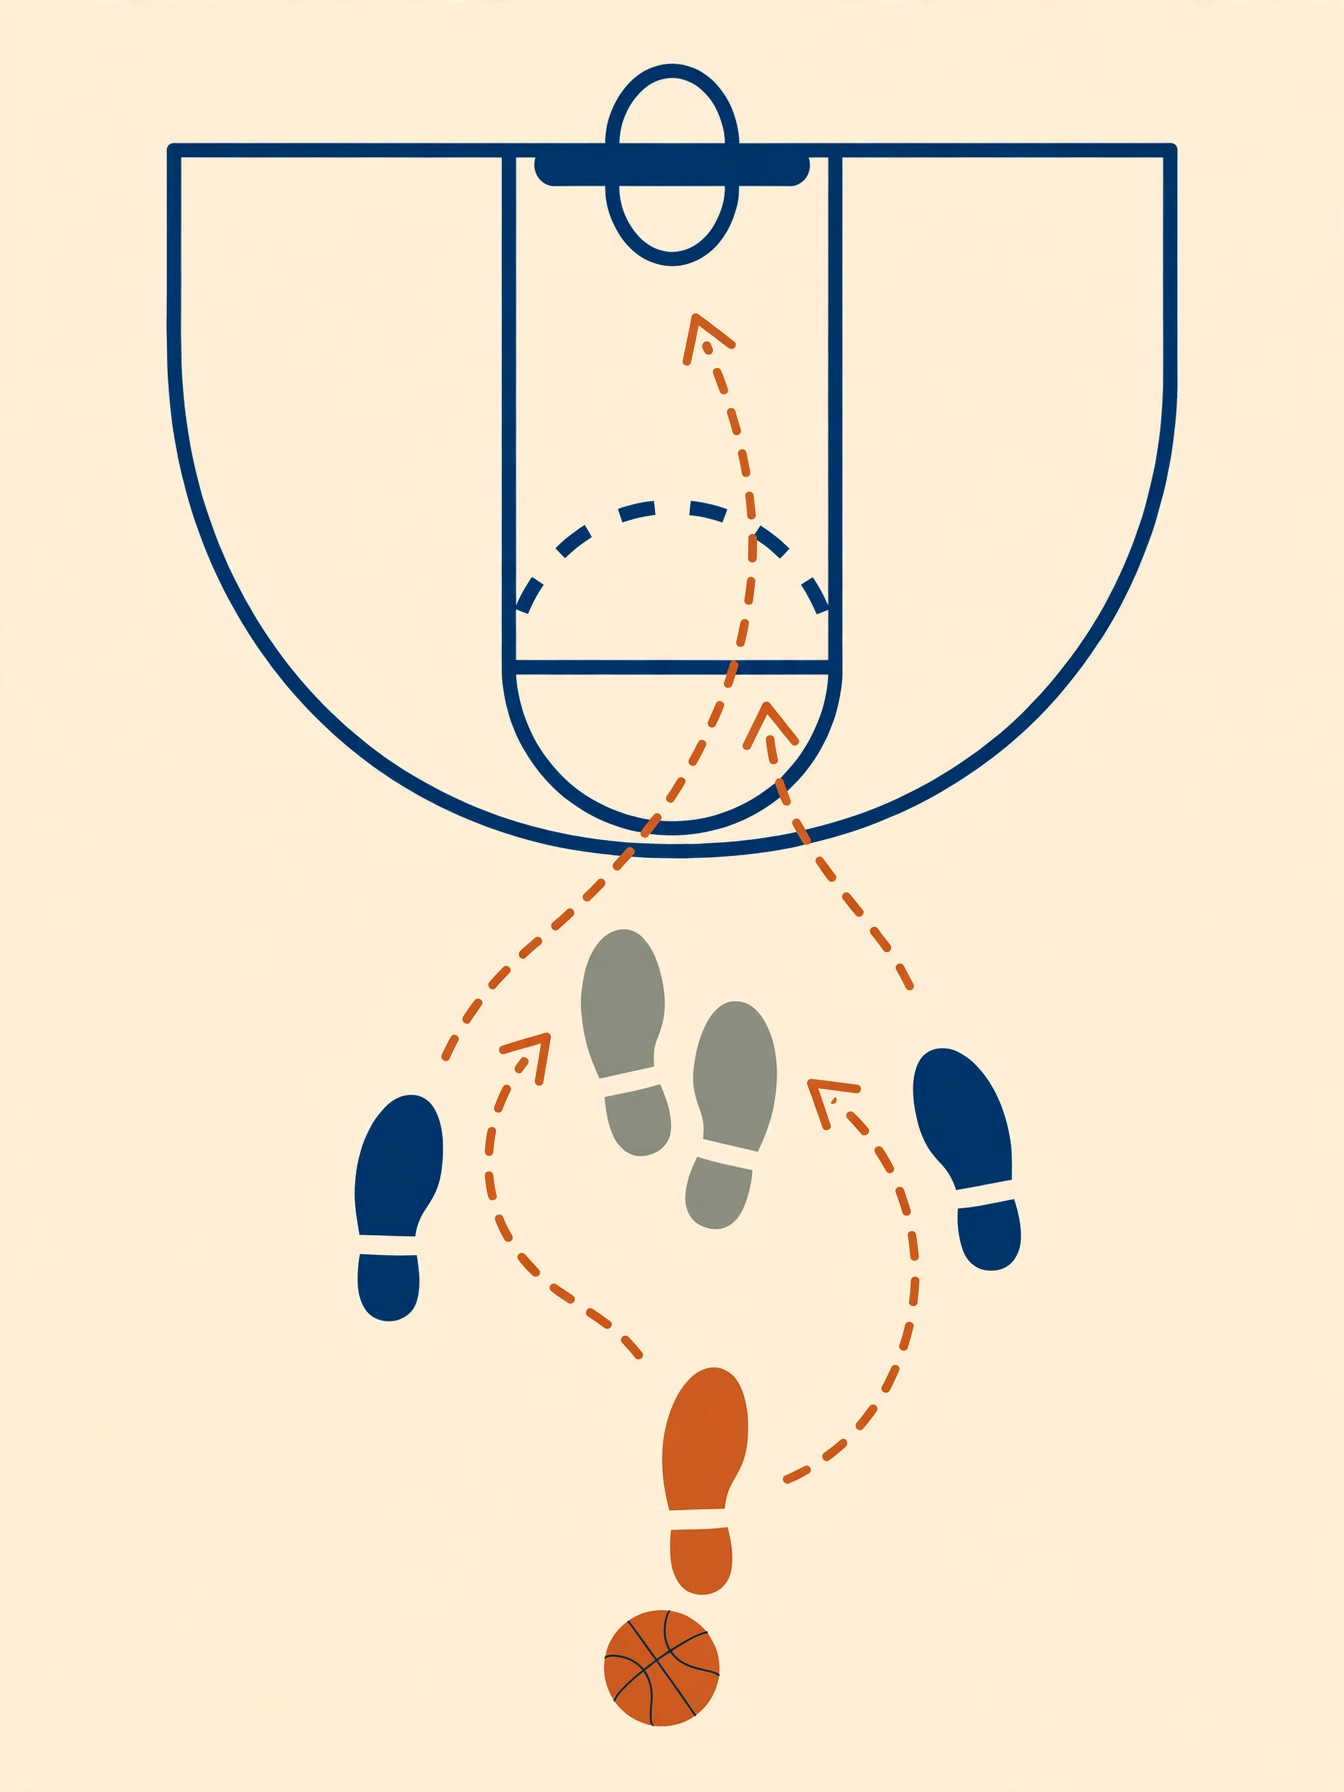
The gather step, explained with footprints. The modern rule (NBA, FIBA, and increasingly youth leagues) counts your steps from the gather — the moment you pick the ball up and end your dribble. If a foot is landing or in motion as you gather, that is step zero: it belongs to the dribble, not to your two steps. Then steps one and two are yours. So a legal Euro looks like this: gather on the move (zero), plant step one hard to the defender's left (one), push to the right and finish (two). The diagram below shows that exact footprint pattern from above — one gather step, then two steps in two directions.
How Luka Doncic does it. Luka's Euro is the masterclass because he weaponizes speed changes, not speed. He drives at one pace, gathers early, and takes his two steps slowly — huge, deliberate steps that let the defender commit and fly by — then finishes off either foot with either hand. The lesson for young players: the Euro step is not a race. Gather under control, make step one big and convincing, and let the defender's own momentum clear your path. Slow and balanced beats fast and falling, every single time. Two more Luka details worth stealing: he often finishes off two feet, body between the defender and the ball, which keeps him balanced through contact — and his slowness is exactly why defenders foul him, arriving late and running into a player already in his steps. The youth version we teach: drive at three-quarter speed, slow down as you gather, step one way, step the other, finish off two feet. Speed changes beat raw speed for most young players, because control is what lets you read the defender instead of running into him.
The honest warning for school and youth ball. Step zero is NBA and FIBA language. Most American school and youth basketball is played under stricter high school rules with no official step zero — the foot on the floor when you gather becomes the pivot foot — and youth referees call anything that merely looks like an extra step. So we coach it to survive any whistle: gather the ball as your first step lands so the gather and the step read as one, take two clean steps, and never give a referee a third step to look at. A move that only works when the referee knows the modern rule is not a move a young player can use.
When to Use the Euro Step
- Against a shot blocker. The Euro was born to beat help defenders waiting at the rim. Fake them one way, finish the other.
- In transition. One defender back, you with a head of steam — the Euro is nearly unstoppable on the break.
- After beating your man. You got past the first defender with a crossover; the Euro handles the second one.
- When NOT to use it: in heavy traffic with two or three defenders collapsing. That is a pass-out situation — or a floater before the defense sets.
Common Euro Step Mistakes
- Steps too small. Timid steps do not move the defender. Step one must be big and convincing — sell it like a real drive.
- Going up soft. After the second step, finish strong off two feet or extend high off one. Weak finishes get blocked anyway.
- Exposing the ball. Keep the ball on your outside hip or swing it opposite the defender (the "ball fake" Euro). Carrying it down the middle is an invitation to get stripped.
- Running through the defender anyway. The second step must actually create space. If you still collide, the steps were not wide enough — that is a charge, not a Euro.
Drills to Learn the Euro Step
1. Walk-Through Lines (no ball)
From the free-throw line, practice the footwork at walking pace: gather step, hard step right, step left, jump-stop finish position. 10 reps each side, then add the ball.
2. Cone Euro
A cone at the block plays the help defender. Drive from the wing, gather at the cone, Euro around it, finish. Progress to a coach holding a pad for light contact.
3. Full-Speed Finishes
From half court, attack at game speed and Euro at the rim — alternating which direction you fake. Finish 20: 10 each side. Finishing with both hands and both directions is what makes the move unstoppable.
Why the Euro Step Matters More Than Ever
Modern defenses load up the paint, and modern offenses spread the floor — which means drivers constantly meet one big defender at the rim with space around them. That is Euro step territory. It is a core part of the finishing package we teach at Craft Masters Training, alongside layups with both hands and the floater. Master the two steps, and the rim opens up. Book a training session in New Rochelle and we will build your finishing package rep by rep.